To document the presence of a marking on an artwork, such as a label, seal, or stamp, you can link the marking to the artwork. This link seamlessly guides you from the artwork entry to the detail page dedicated to the marking, offering specific information about its origin and significance. Furthermore, the inclusion of detailed photos showing the marking on the artwork allows you to capture details about the specific marking instance.
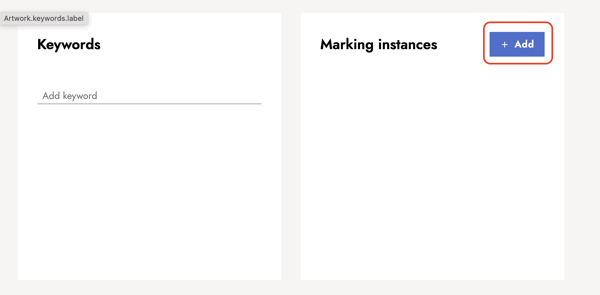
1. On the artwork detail page, click + Add in the marking section to add a marking instance.
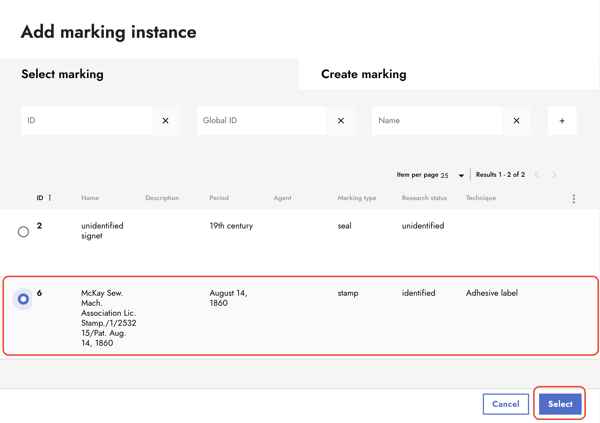
2. Select a marking instance.
A dialog opens. Select a marking instance from the list view. Confirm with Select.
3. Enter the details of the marking instance.
After selecting the marking instance, select the location and condition of the marking from the drop down menu.
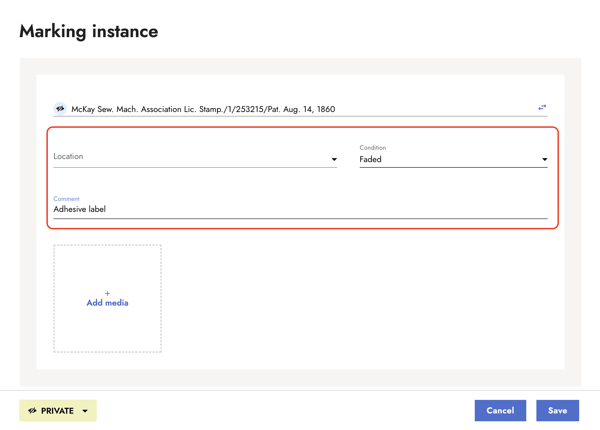
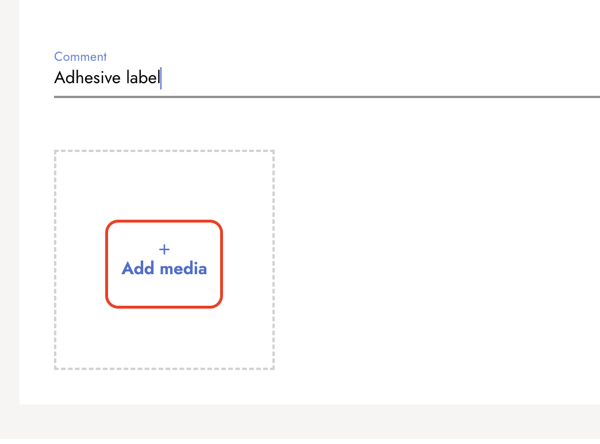
4. Add a photo of the marking instance.
Click + Add media to add a photo of the marking instance.
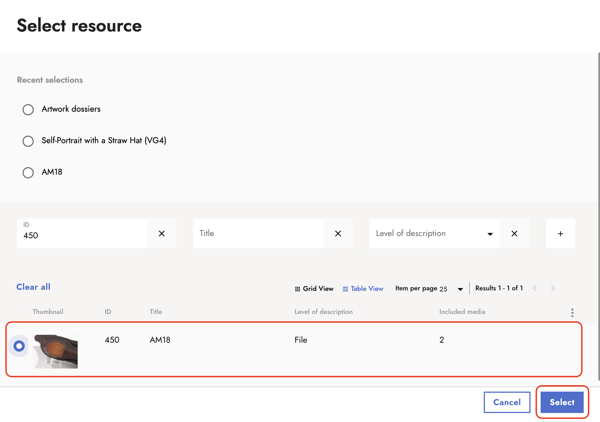
5. Select a resource.
A selection dialog opens. Select the resource that contains the media you want to add. Confirm with Select.
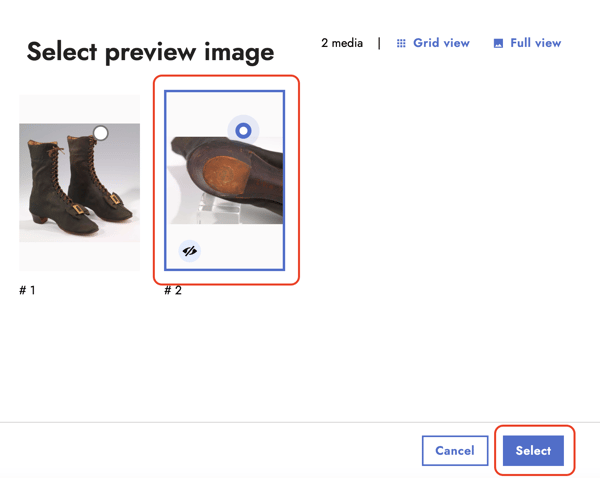
6. Select a preview image.
After selecting the resource, you will see the media files it contains. Choose a preview image from the available files. Confirm with Select.
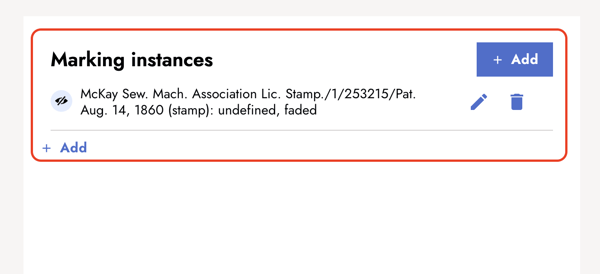
7. After entering the information to the marking instance, confirm with Save.

8. The marking instance is now added to the corresponding section on the artwork detail page.