Creating a marking
Artwork markings let you record and link stamps, labels, or seals to artworks, providing crucial provenance information. In this tutorial you learn how to create a marking entry before linking it to an artwork.
Artworks are often marked with stamps, labels, or seals. These markings provide important information about owners or past locations of the work, making them valuable for determining provenance. The markings feature allows you to record information about these markings and link them to the relevant artworks. By using these links, you can easily identify connections between artworks that share identical markings.
1. In the Master data section, click Markings.

2. Click + Create marking to create a new entry.

3. A dialog opens. Enter the name and select the type of the marking.
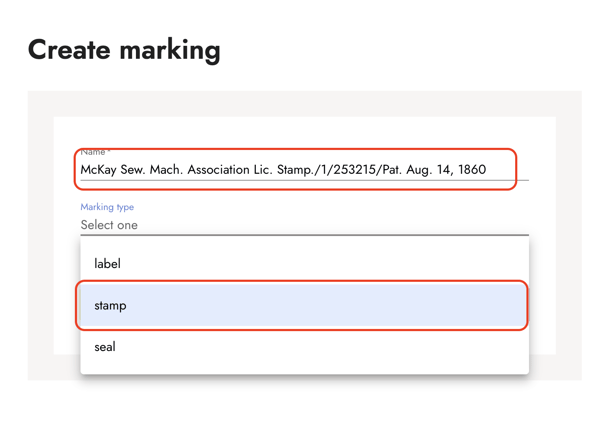
4. Confirm with Save.
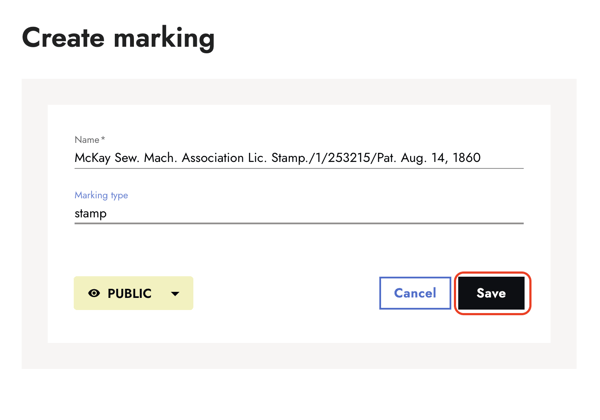
5. Add information to the markings entry.
Once the entry is created, you're forwarded to its detail page. Here, you can add information such as description, technique, and date, and select a research status from the drop down menu.
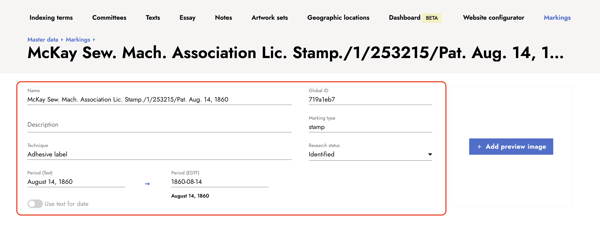
6. Click + Add preview image to add a preview image.
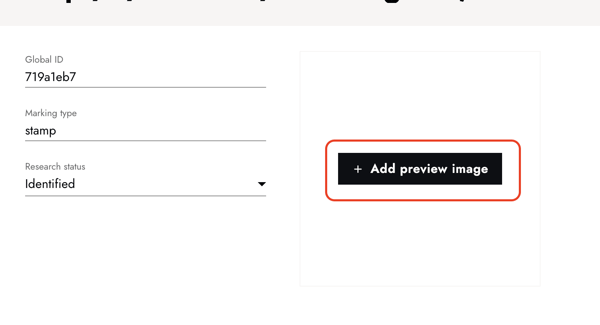
7. Select a resource.
A dialog opens. Use the filters to select a resource.
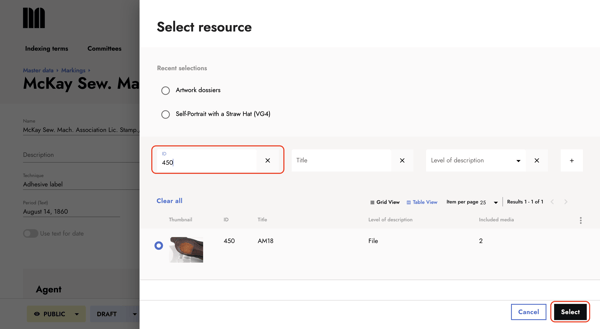
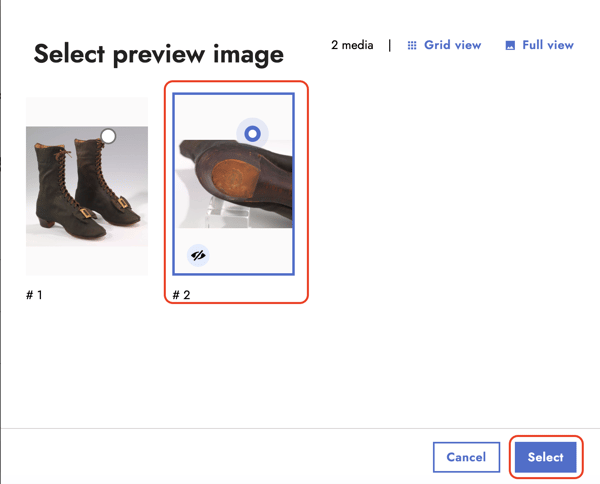
8. Select a preview image.
After selecting the resource, you will see the media files it contains. Choose a preview image from the available files and confirm by clicking Select.
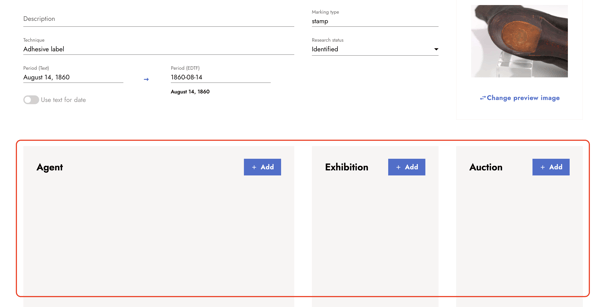
9. Optionally, add agents, exhibitions, and auctions.
Scroll down to the sections Agents, Exhibition, Auction, and included artworks. If available, add information to these section via the + Add button.
10. Add included artworks.
Via the + Add button in the included artworks section, you can link artworks to the marking entry. The list view of the included artworks show you all instances of the marking and allow you to compare the marking by the individual preview images.
Alternatively, follow the tutorial about connecting markings to artworks to learn how to link the marking instance from the artwork detail page.

