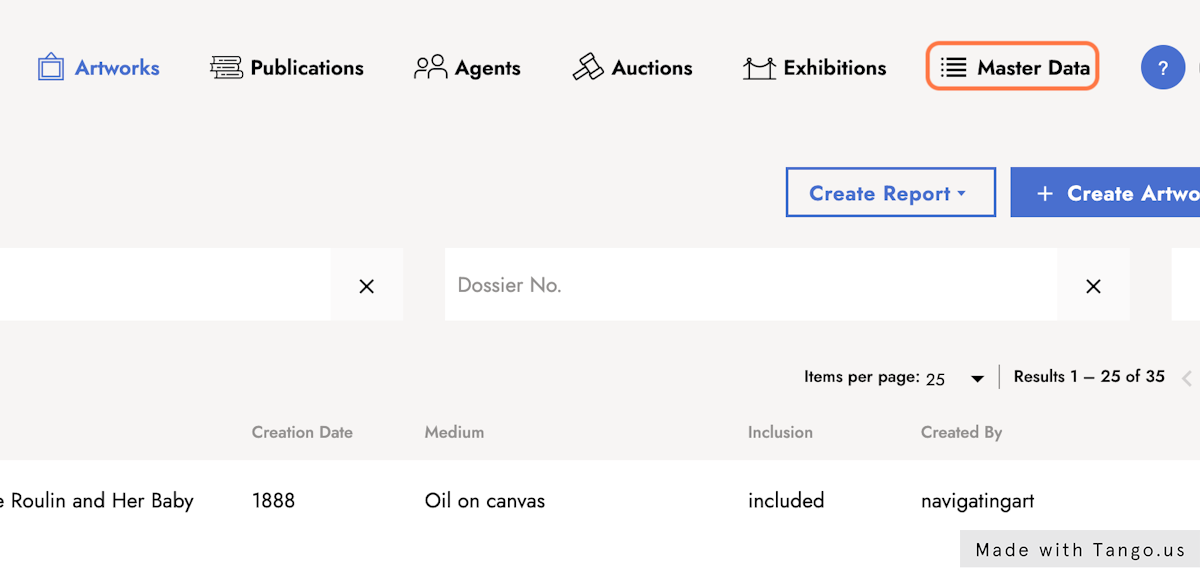
1. Click Master Data.
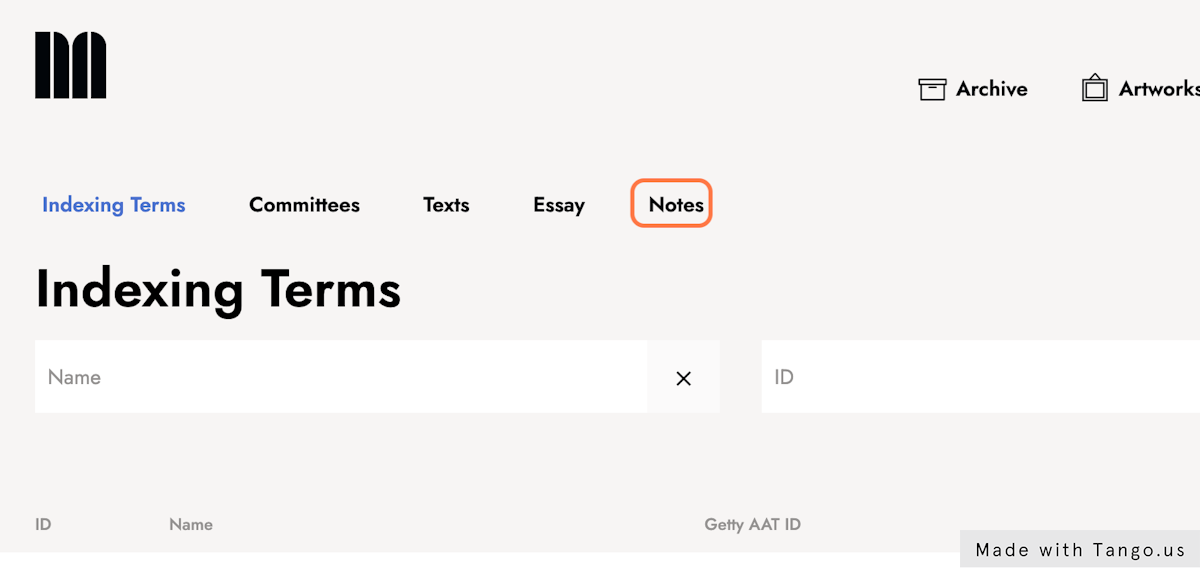
3. Click Notes.
In the section Master Data you have a submenu with several options, including notes.
4. Using the default filters
Notes displays three filters by default:
-
Search text, keywords, or phrase. This filter lets you look up notes based on a specific text, keyword, or phrase.
-
Note type. Each note has a type added to it upon creation. These types allow for easy and specific searching
-
Source entity type. This filter allows you to choose whether the notes are to be searched in a specific entity such as artwork, resources, and publications. Note that by default, the search results include notes from across the platform.
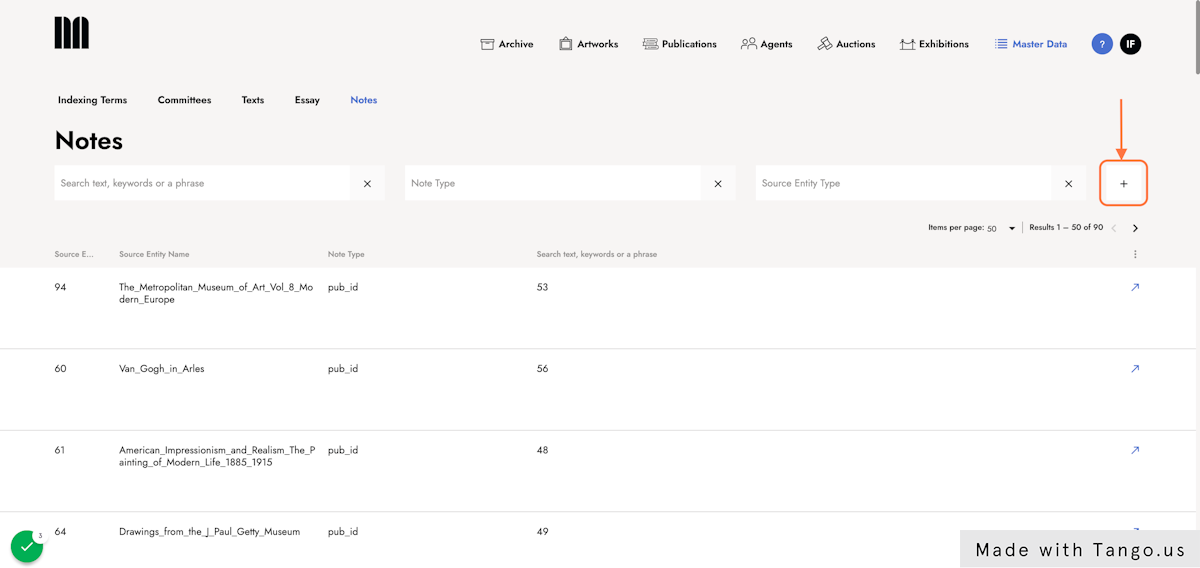
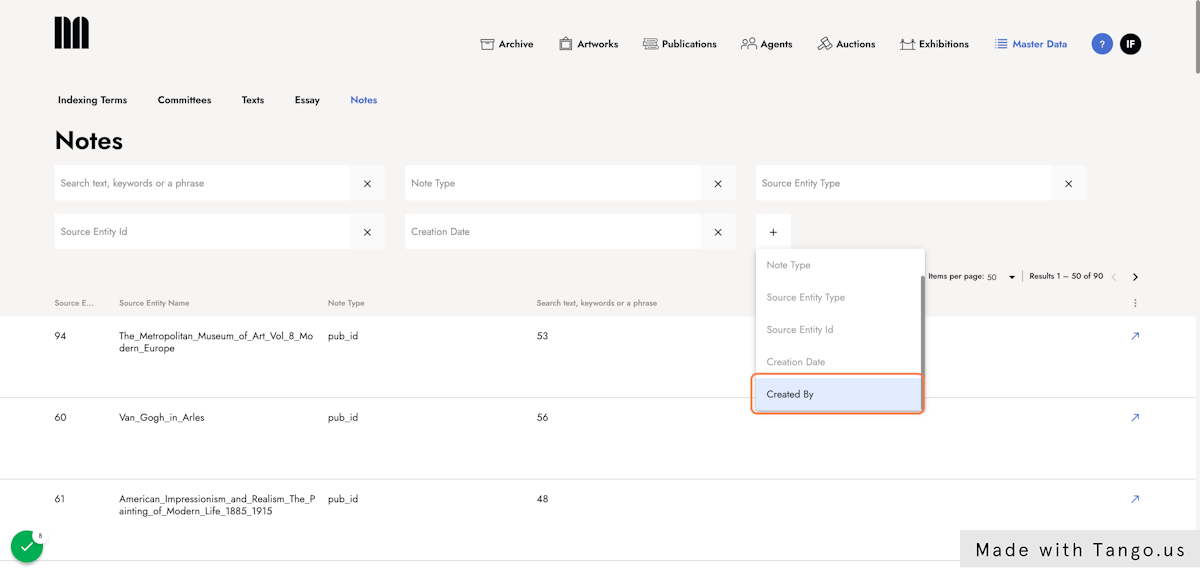
5. Add more filters.
Three more filters can be added through the add (+) button:
-
Source Entity Id. Use the ID of the source that hosts the note to find it.
-
Creation Date. Look for notes created in a specific date.
-
Created By. Look for notes created by a specific person.
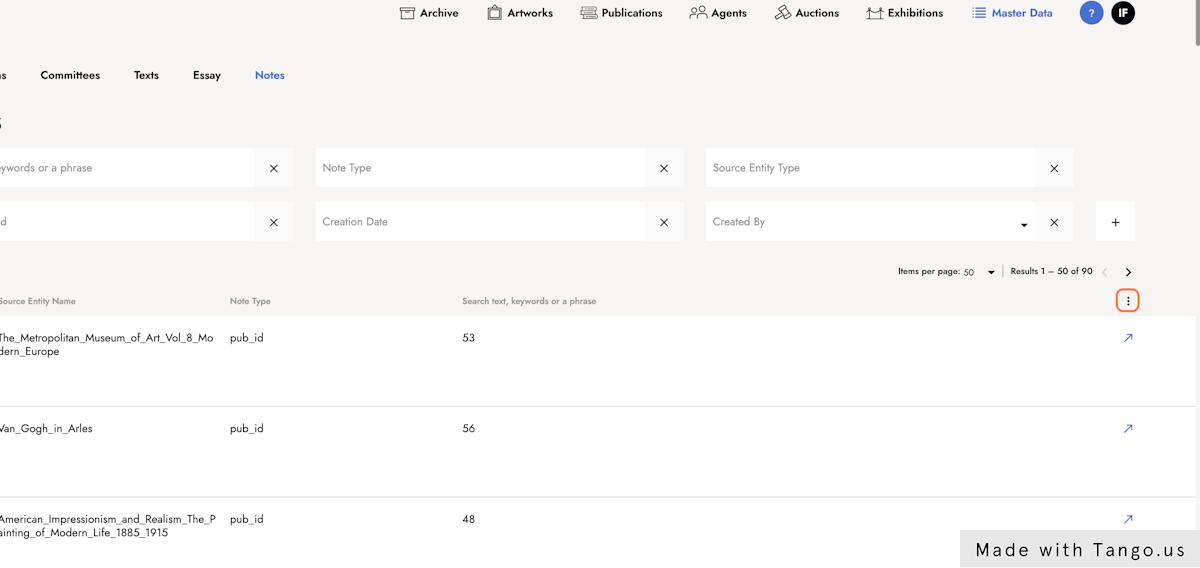
6. Data columns
By default, columns displaying data from the notes are shown. You can add more columns by clicking on the three-dot icon.
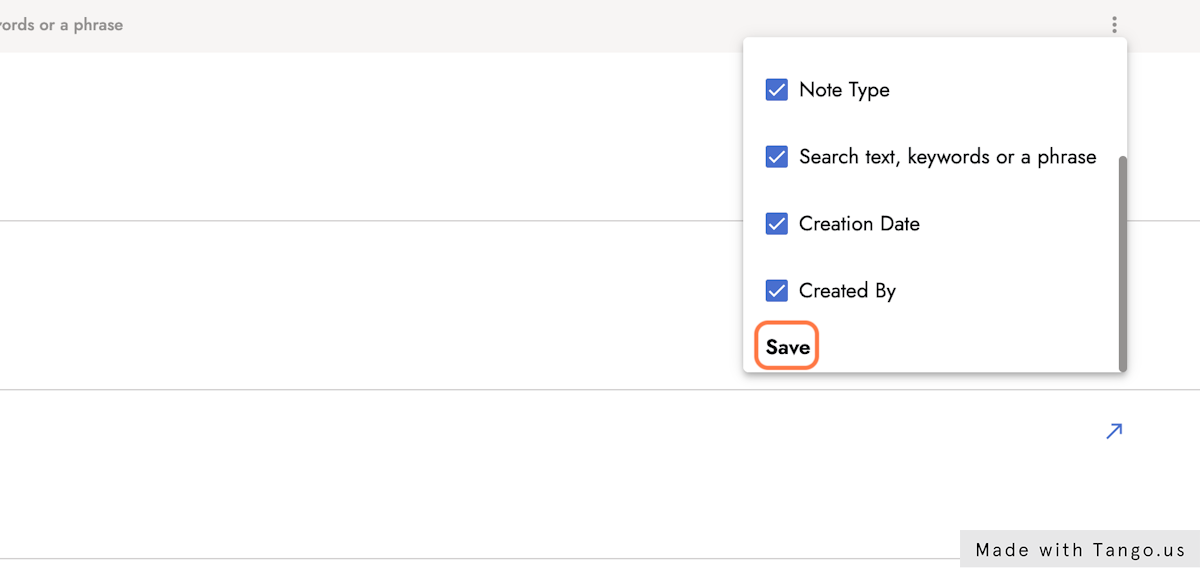
7. Add more data columns.
When the necessary columns have been checked, or the unnecessary columns have been unchecked, the save button will display the resulting columns.
8. Type any word or phrase on the first filter: search text, keywords or a phrase
To start searching for the specific notes that you want to find, the use of filters is key.
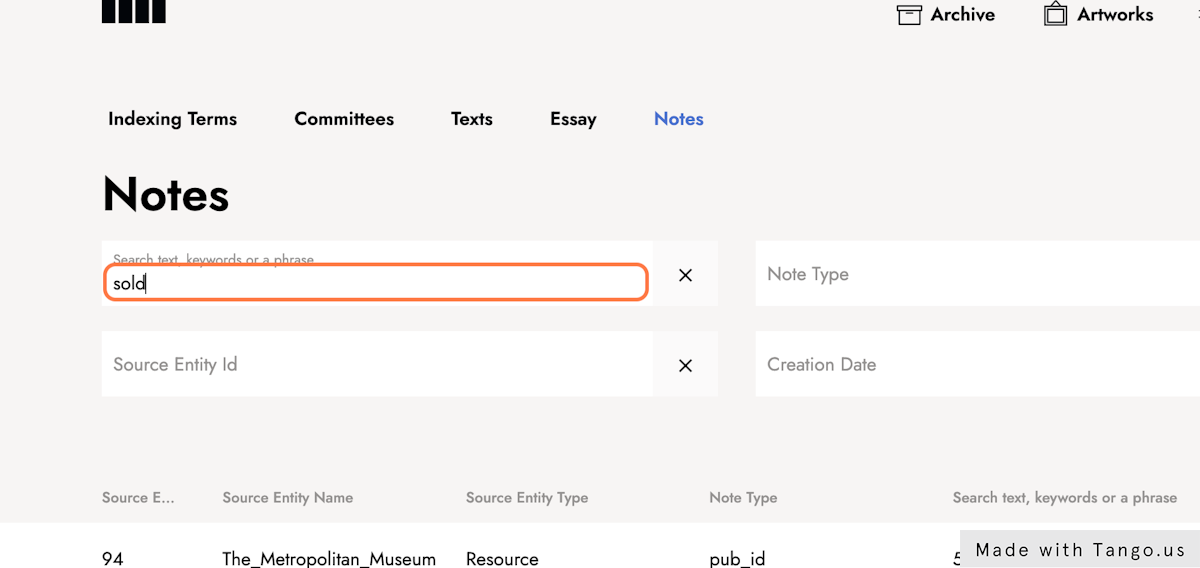
9. See results.
The results will display the notes that contain such term.

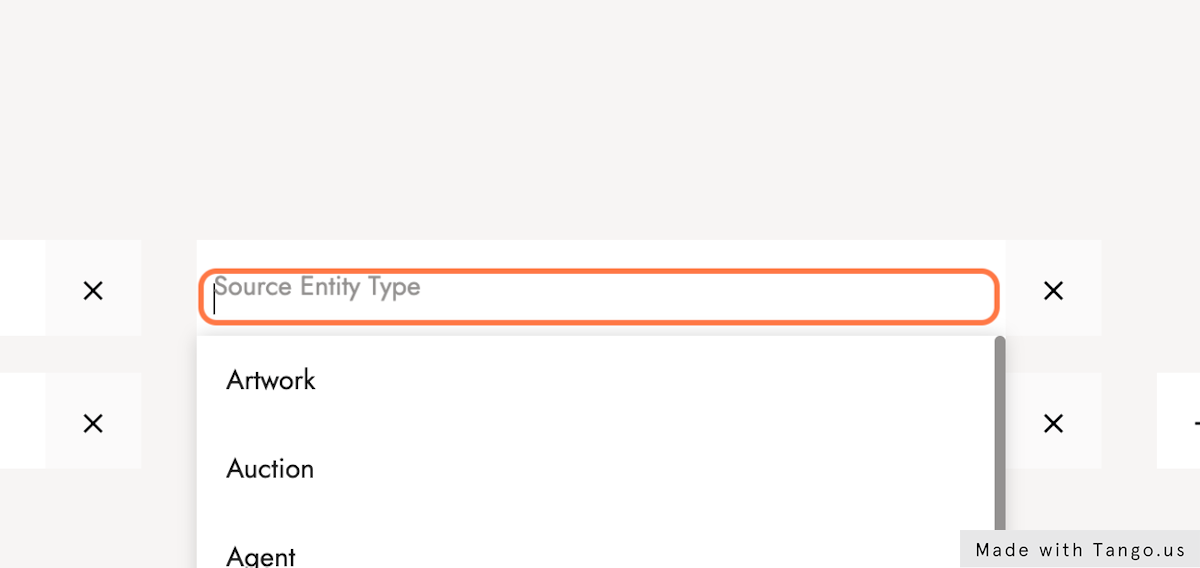
10. Click Source entity type.
The filter "source entity type" provides a menu of entities that can be selected to perform the search of the notes more narrowly.
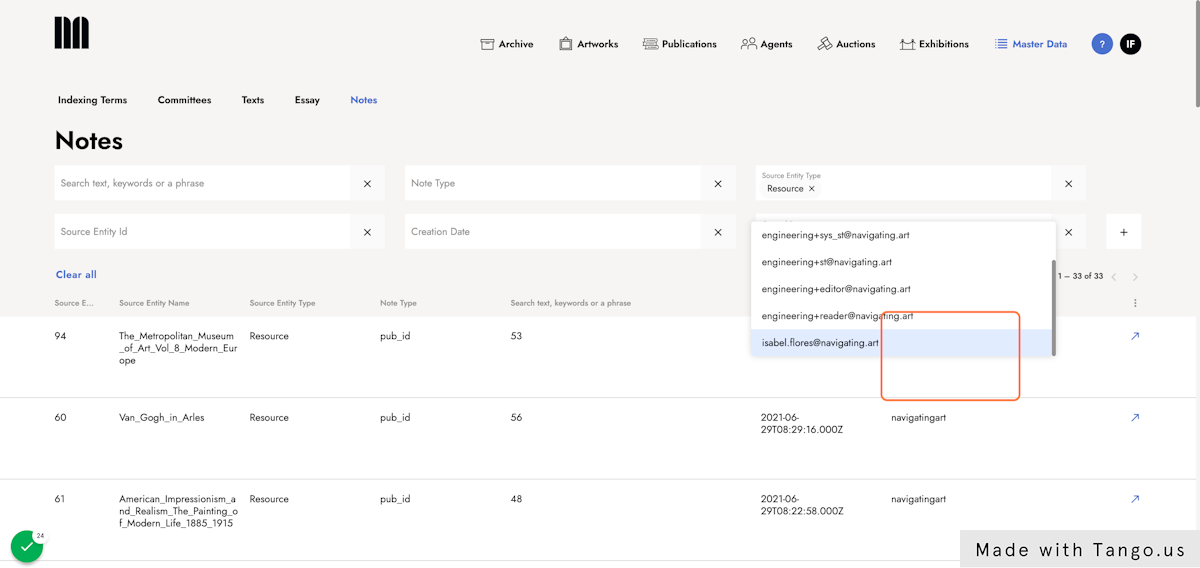
11. Combine filters.
Combining filters will provide more accurate results. The "created by" filter displays the notes created by a specific user.
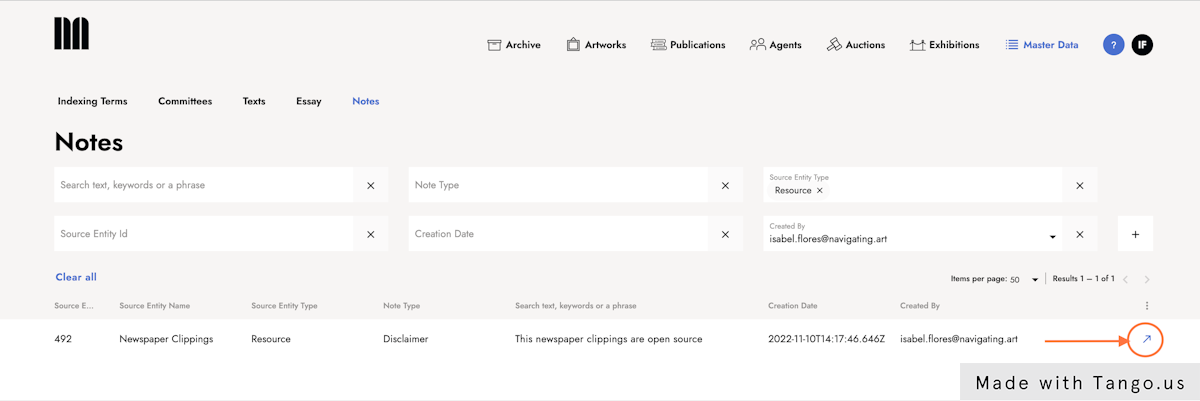
12. Click the arrow icon.
When the results are displayed, they come with an arrow icon. This button will take you to the specific place where the note is located for editing or deletion.
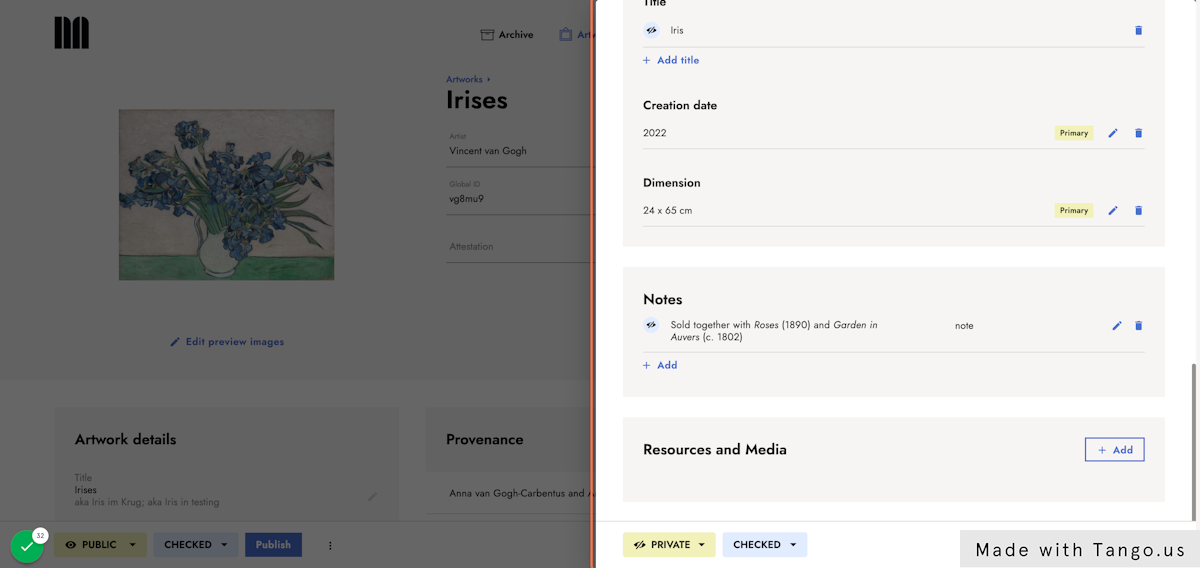
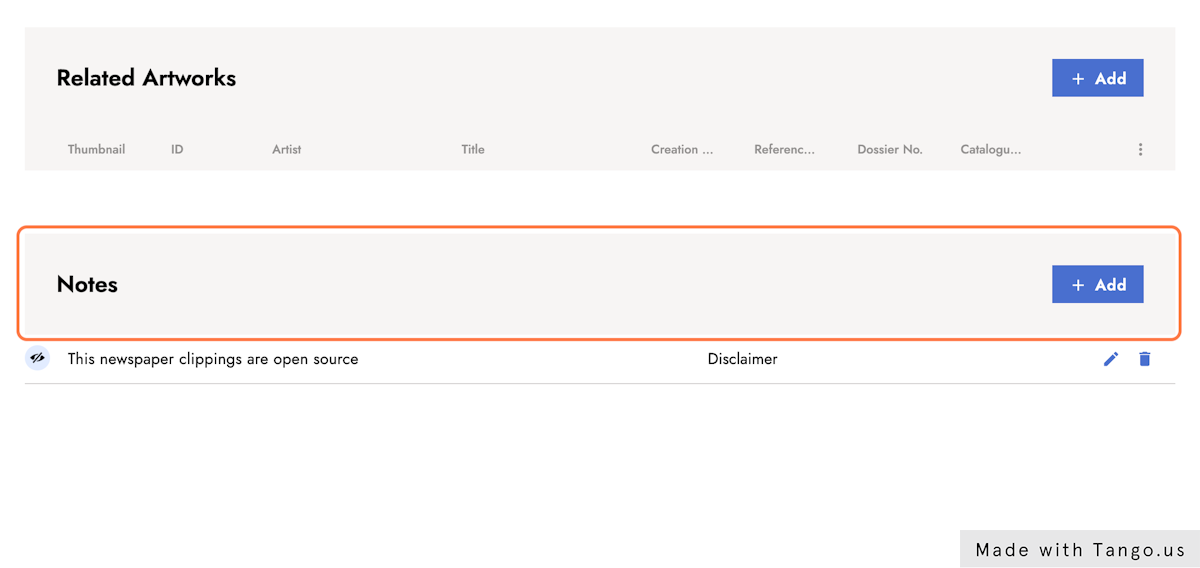
13. Scroll down to the notes section.
Upon clicking on the shortcut icon, a new tab is triggered. When the source entity type is an artwork, auction, agent, resource, exhibition, publication, or resource the new page will display the entity that hosts the note. Scroll to the notes section.
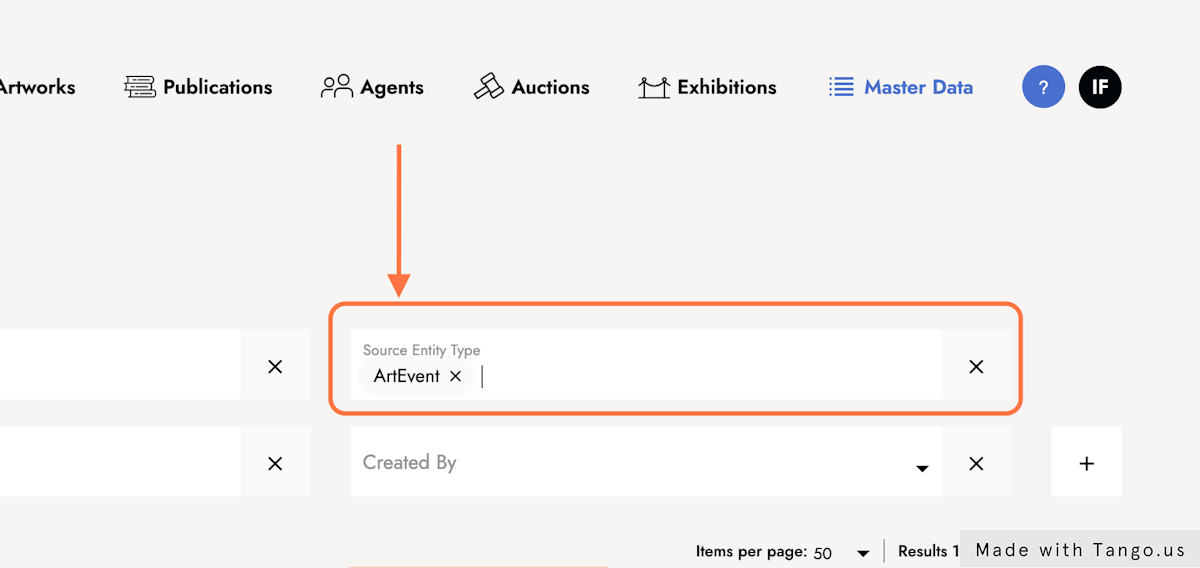
14. Click ArtEvent in source entity type.
When the source entity type is an art event, the new tab triggered after clicking on the shortcut icon displays not only the entity where the note is contained but the overlay that you see when you edit an art event (e.g., provenance art event in artwork) is also displayed for you to scroll down to the notes section.
15. Scroll to the notes section.