When the Dossier is not the only place where preview image(s) can be selected from
Normally, the preview image(s) to identify the Artwork come from the Dossier. But there are times where the preview image(s) is not or cannot be allocated in the Dossier and it actually resides in a different Archive Resource.
When this is the case, we should be able to select the Archive Resource that contains the preview image(s) you want to use for your Artwork. And this flow will tell you how to do that:
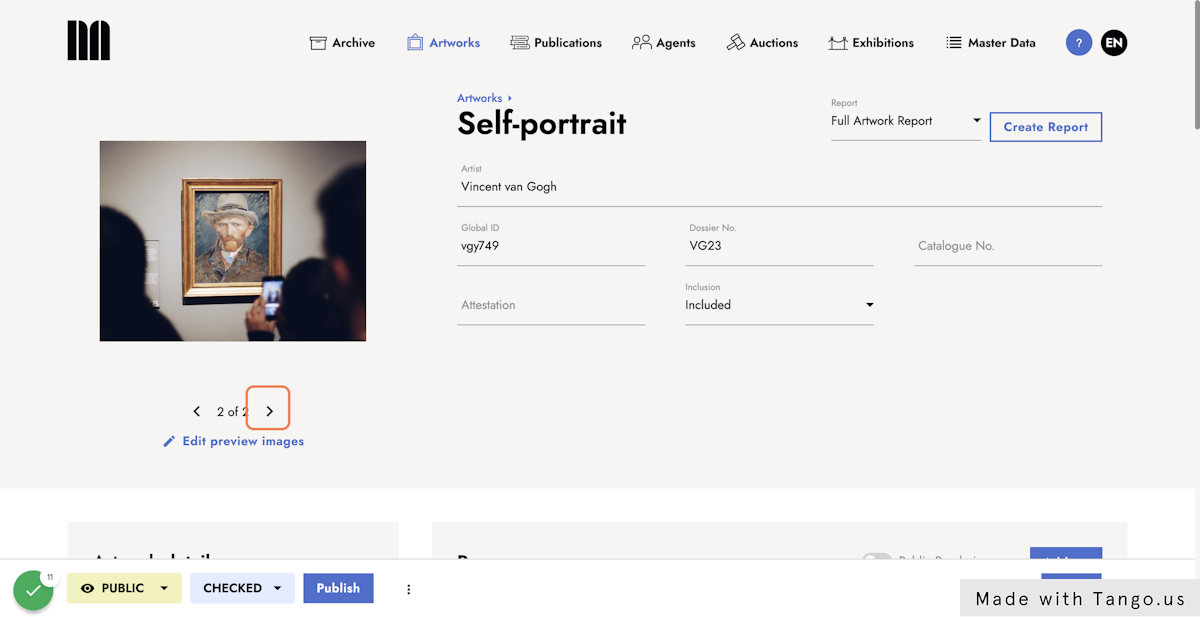
1. Go to the Artwork detailed page
This is the Artwork that you wish to set up the preview image(s) from and Archive Resource different from the Dossier.
Note: The Dossier IS an Archive Resource type File
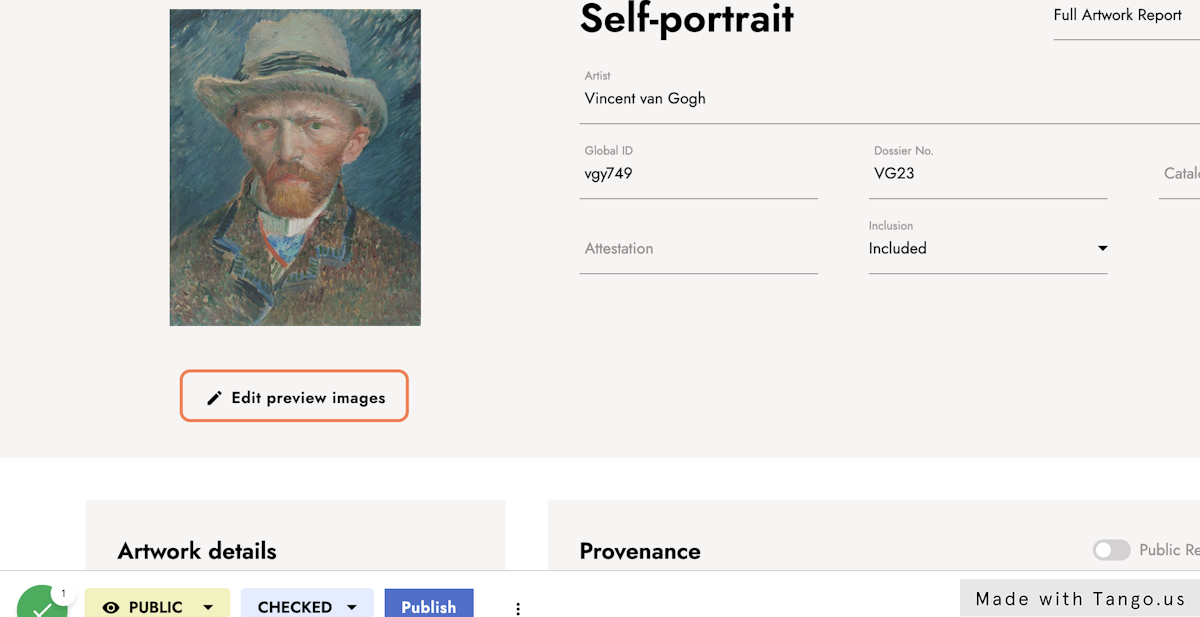
2. Click on Edit preview images
This is the case when you already have a preview image set. If it is the first time you are going to set up a preview image check this tutorial.
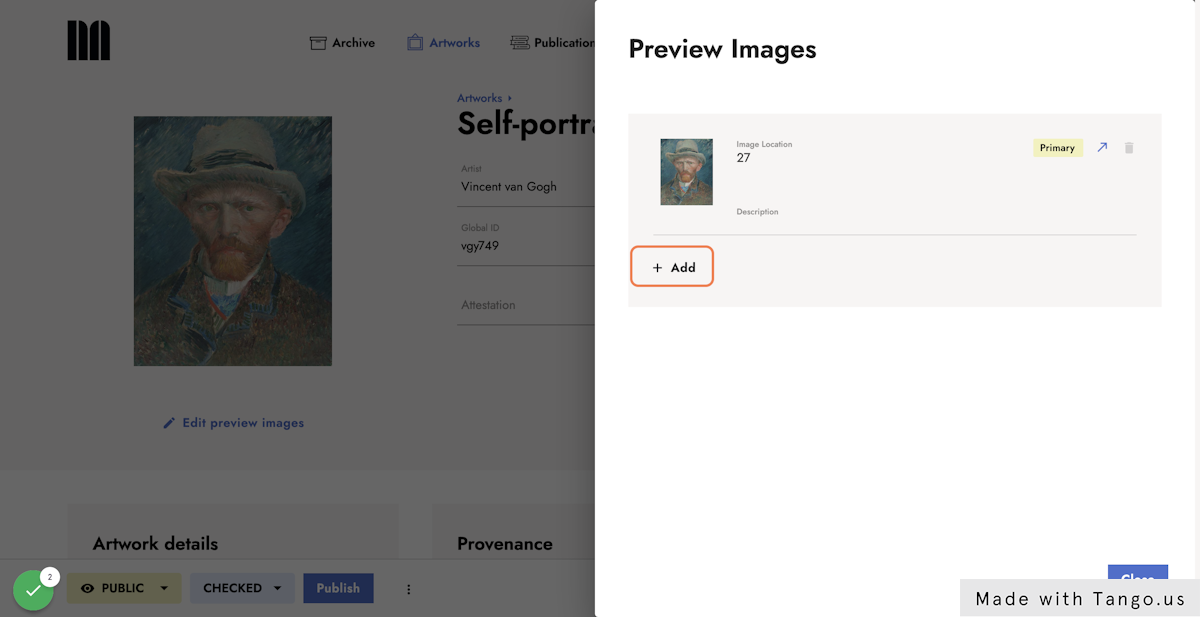
3. Click on + Add
Once you have clicked on Edit preview images, the overlay is displayed and you will see a list of the images that are being used as preview image(s). At the bottom, you will find the button to + Add more preview images.
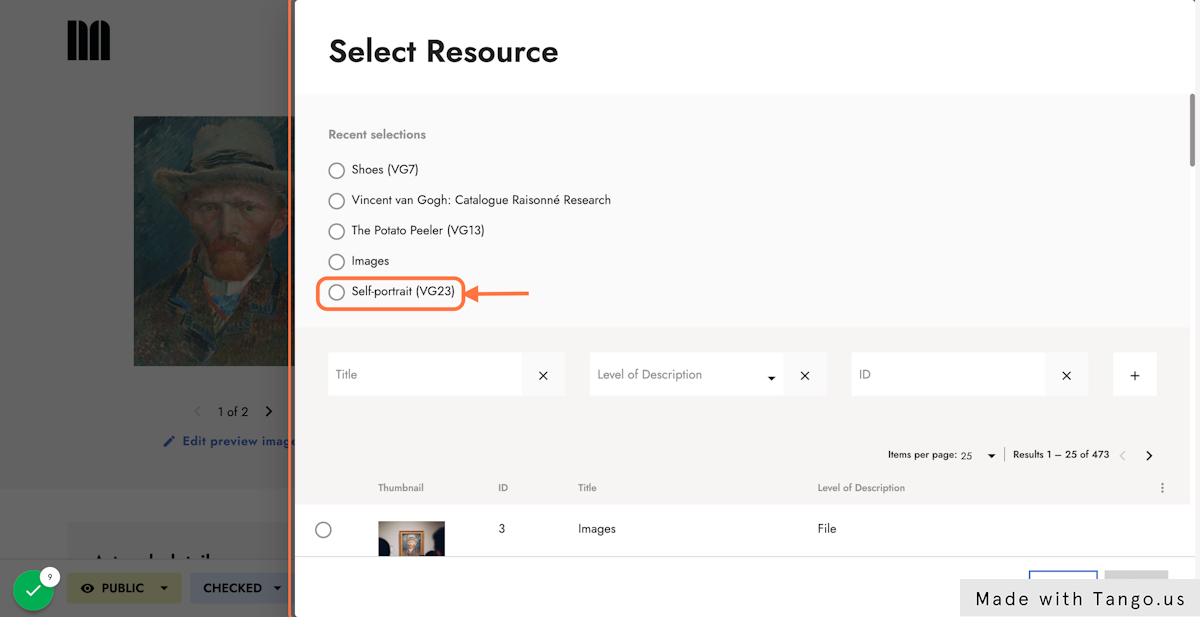
4. Click on the Archive Resource that hosts the preview image
Int he overlay you will be able to look up and select the Archive Resource that contains the preview image(s) you are interested in.
You can use the filters to look up the Archive Resource, but you will also see the Recent selections section which will display the last four searches you performed.
The order of these searches is from bottom to top. This means that the most recent selection is at the bottom and the oldest selection is at the top.
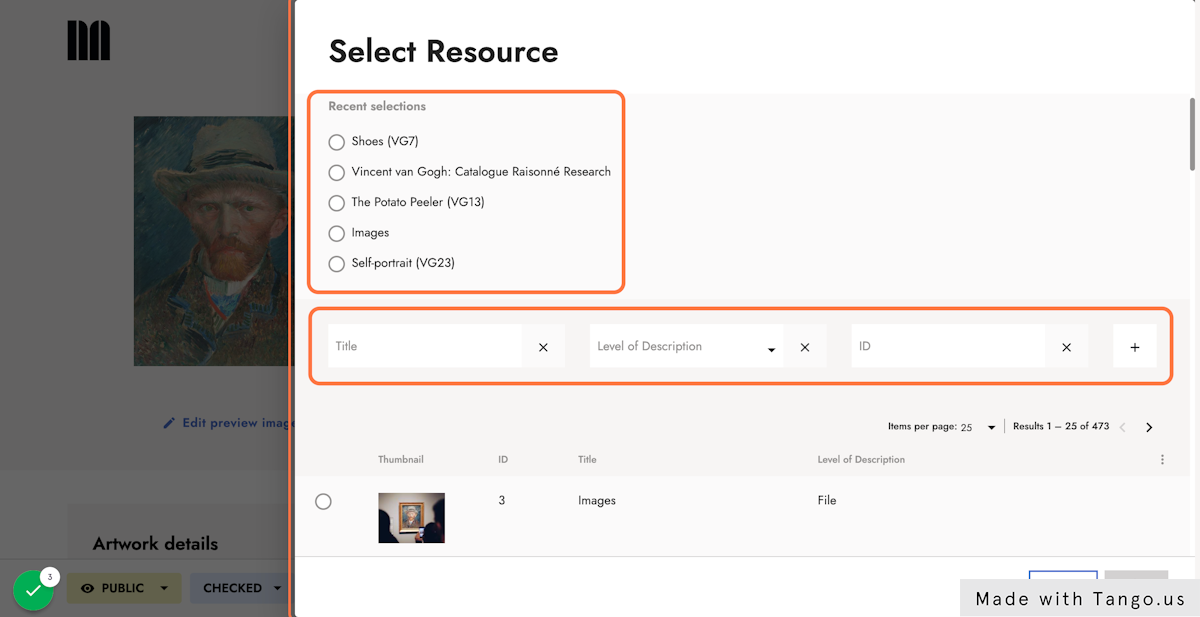
5. The 5th option
Important to note is that in the section Recent selections, you will have the last 4 searches you performed or selected, and the 5th one at the bottom will always be the Dossier.
This is intended for you to remember that the preview images normally come from the Dossier in case you want to access it automatically.
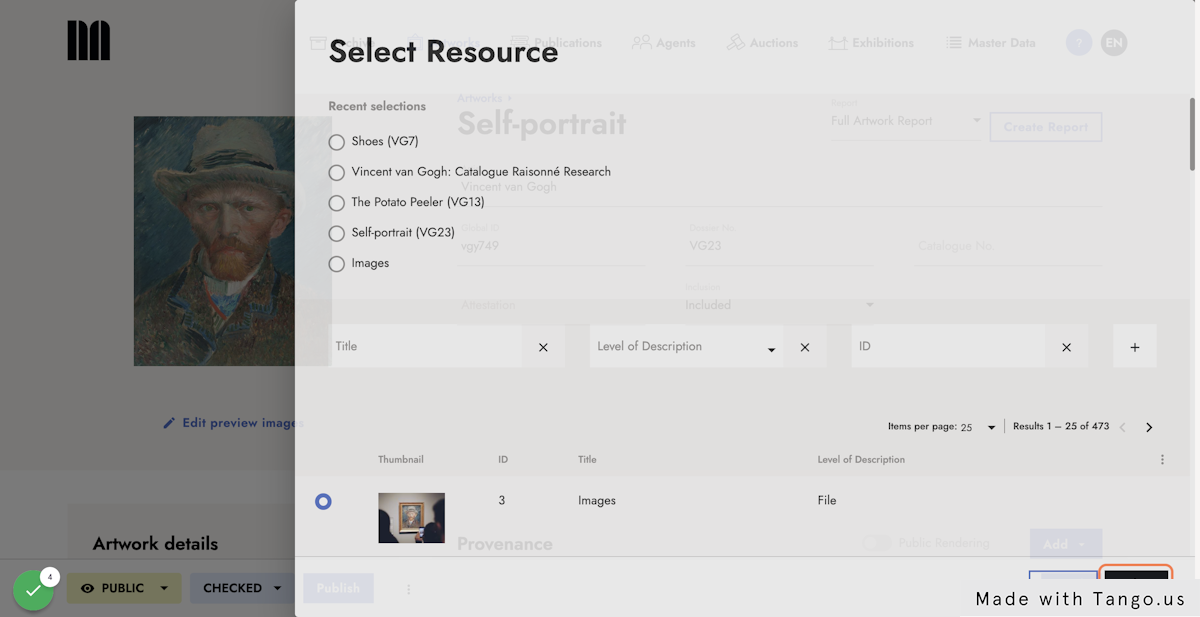
6. Click on Select
Once you have found the Archive Resource that contains the preview image(s) you want to use, click on Select
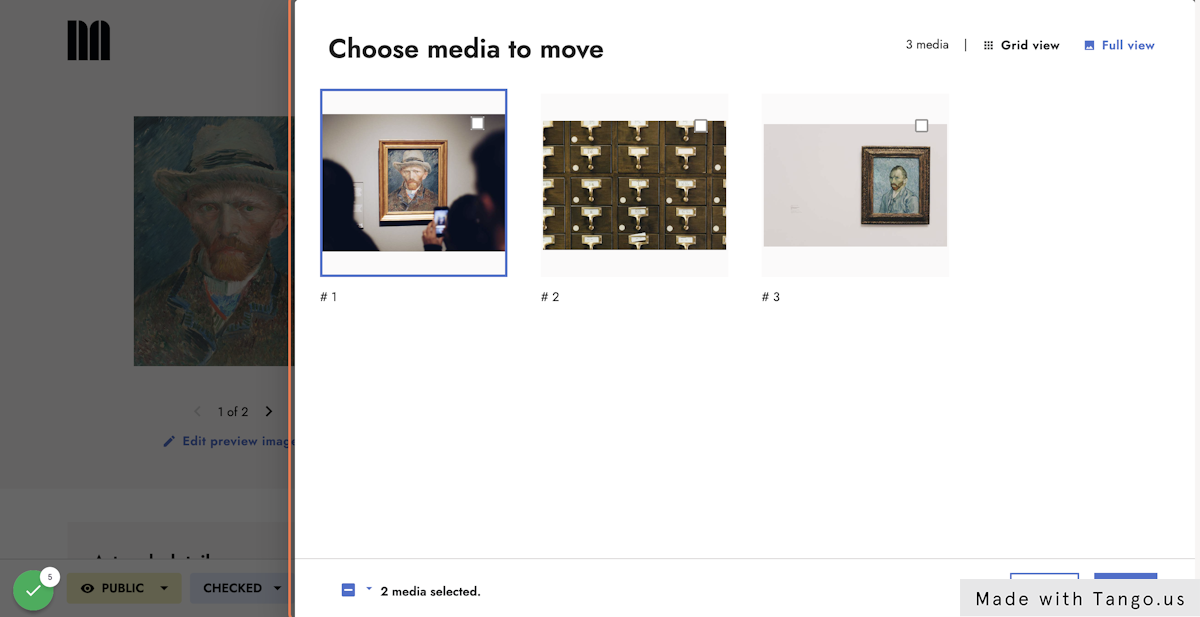
7. Click on the image you are interested in
When the Archive Resource has media, the overlay will change and display the media available.
If the Archive Resource does not have media, the overlay will change but it will display empty and you will need to start the search over.
Check the media you want to add as part of your preview images set and then click on Select
8. See the media added
Once you have added the new preview image it will display in the list.
Remember that you can sort the images to make the first image the primary image and the second will follow. The image that comes on top will automatically become the primary image.
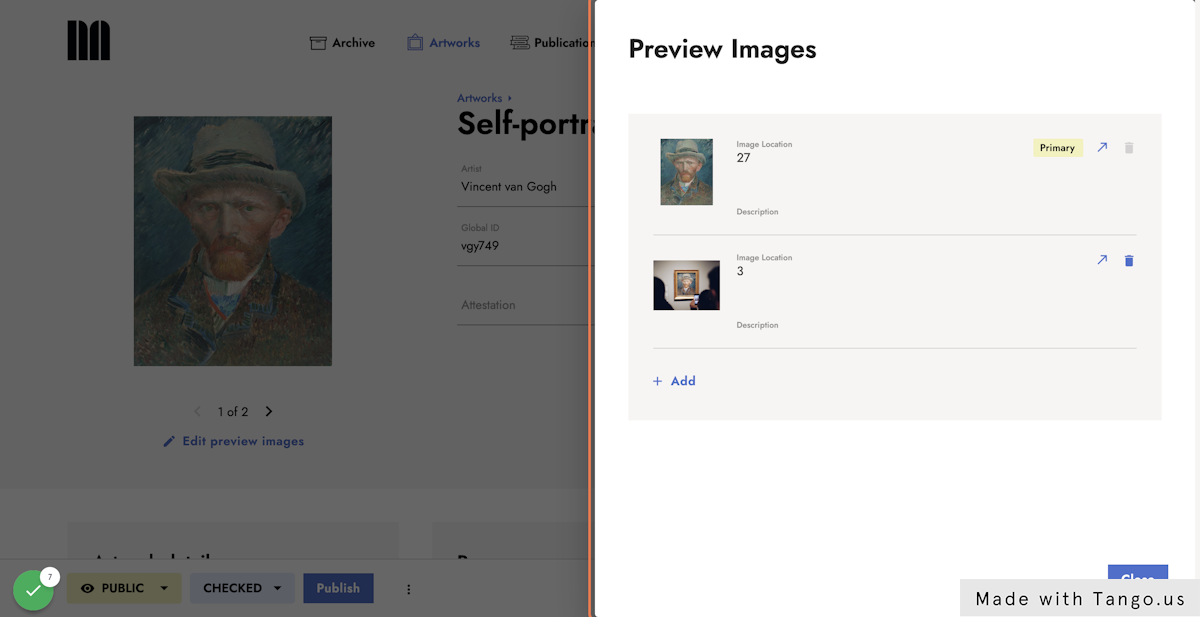
9. See the new preview image(s)
After you click on Close, the overlay closes and you will see the new or added preview image(s) by using the arrows under the preview image.
These images will also display in our Publishing Solution once you click on publish.