
This guide explains how to record signatures, inscriptions, and markings via the artwork detail page. It also clarifys how data must be entered and how it can be marked as tombstone data or other data.
1. Go to Artworks and select the artwork you want to edit.
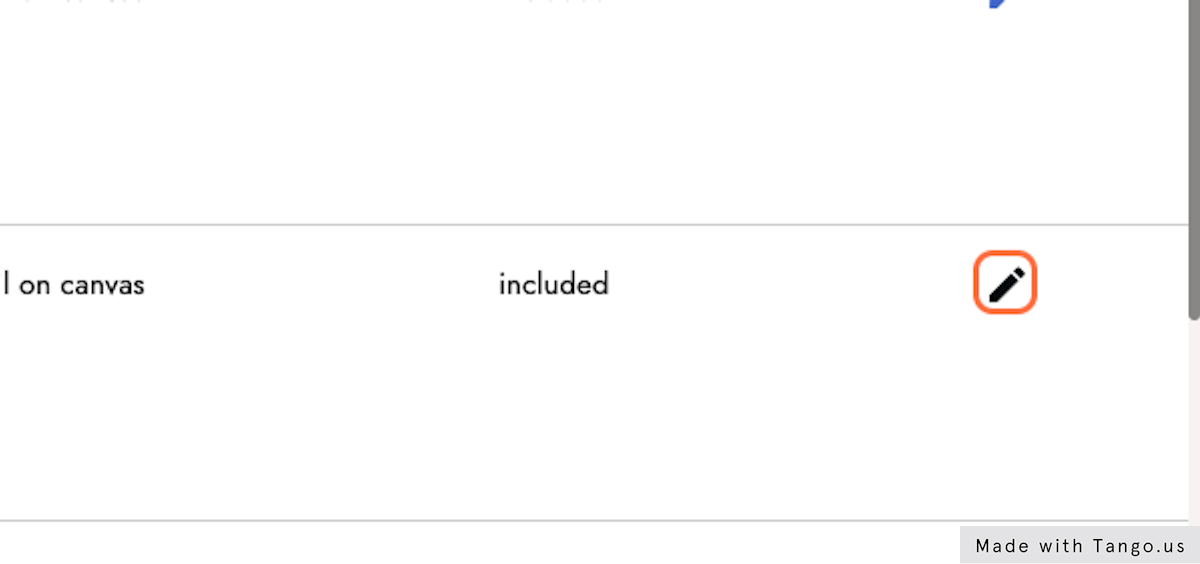
2. Click on the edit icon.
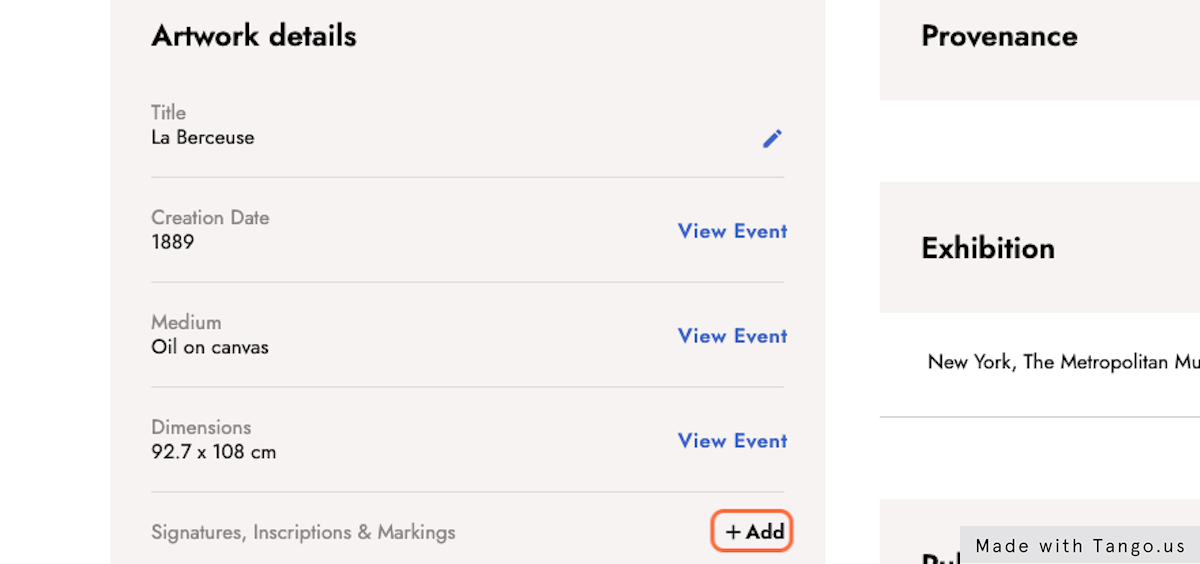
3. Click + Add next to signatures, inscriptions, and markings.
This will lead you to the central list to record the signiature, inscription, or marking.
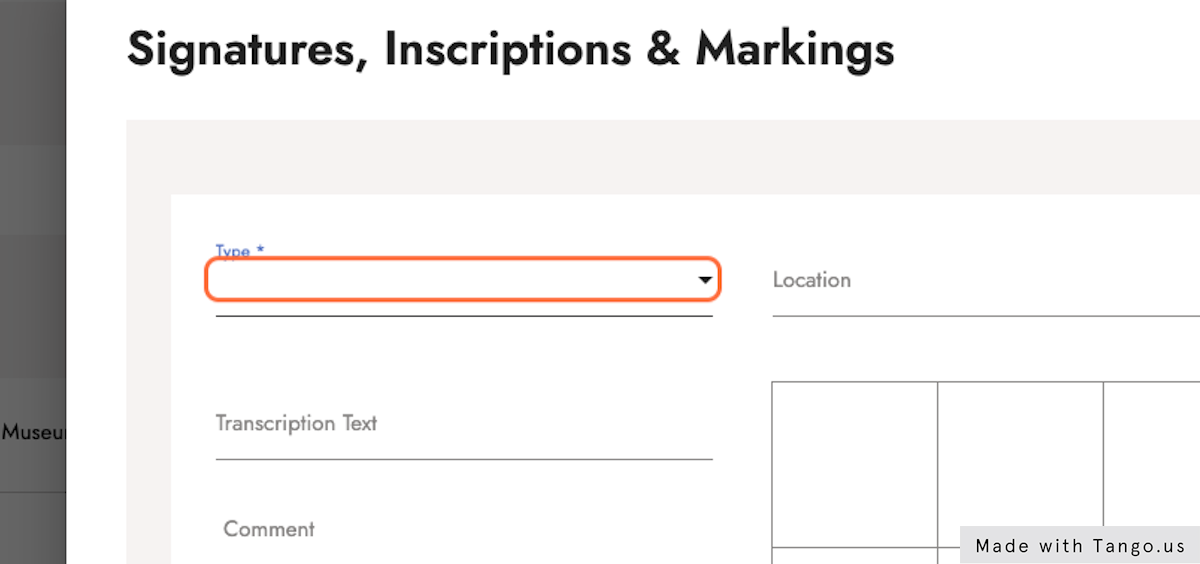
4. Click Type.
Type refers to the content of the marking, and the way it was applied. It can be a signature, a date, a dedication, or any text but also any kind of marking which has been applied through stencil, stamp, or inscription, or other.
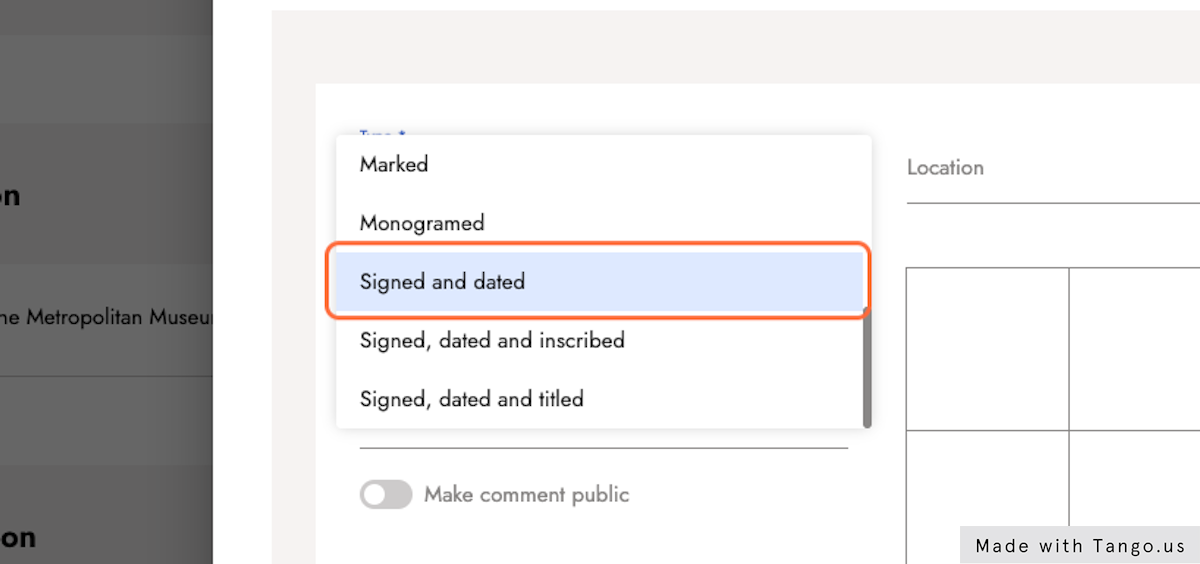
5. Select the type from the options provided.
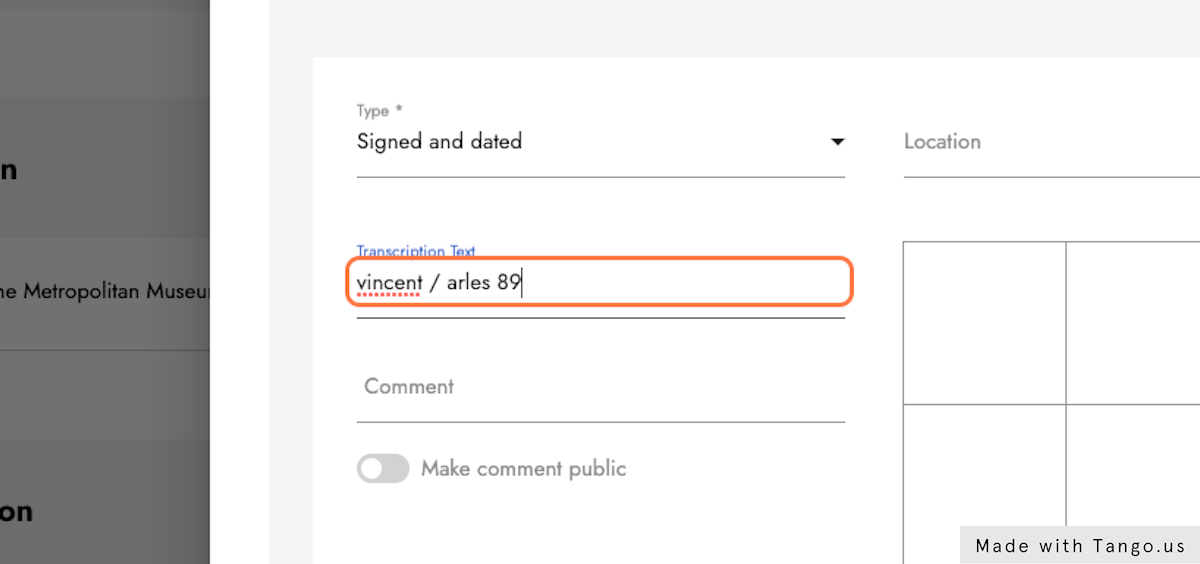
6. Record the text.
Enter the text of the inscription or a description of the marking in the transcription text field. The text field accepts markdown. You can place the text between single asterisks to create italics and double asterisks to create bold text.
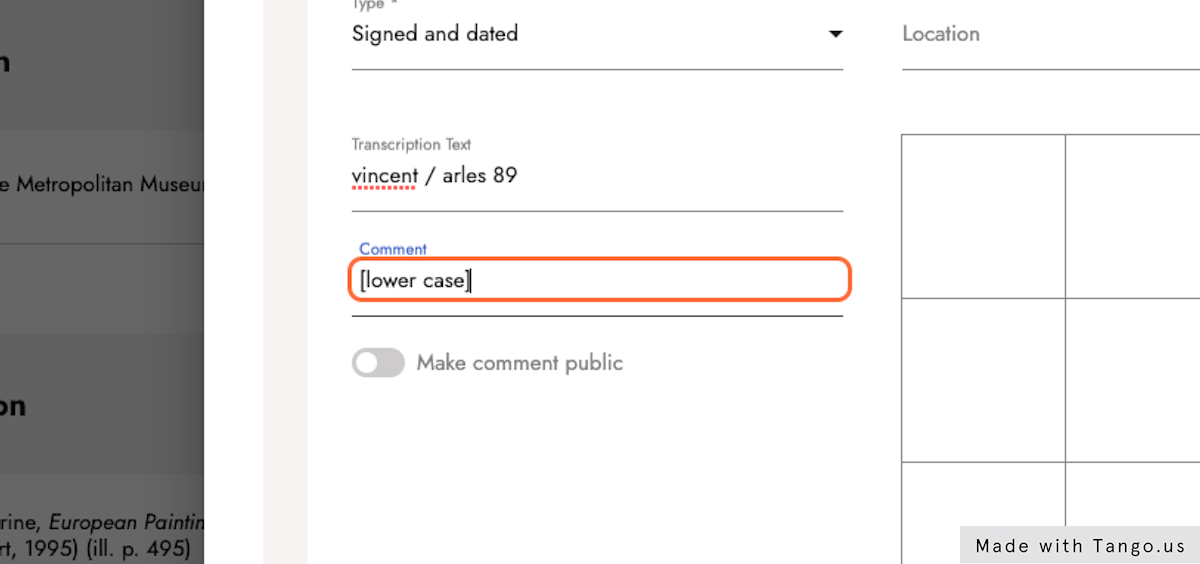
7. Record additional data.
Record additional information in the comment field. Make thecomment public by clicking the toggle below the field.
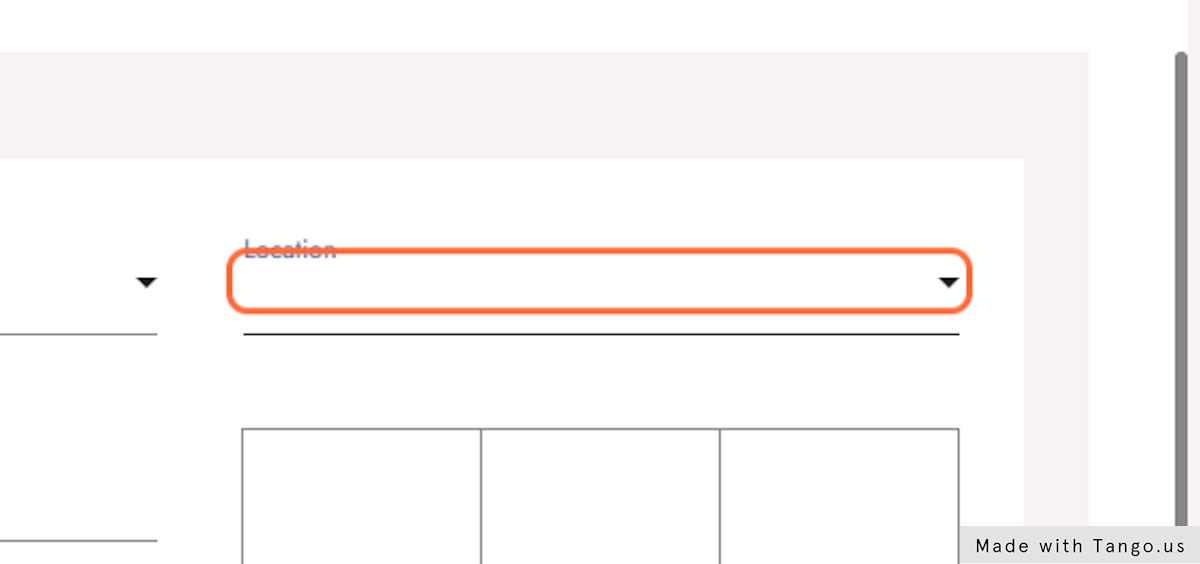
8. Record the location.
There are three ways to record the location of the signature, inscription, or marking.
-
Location. This drop-down menu allows you to choose where on the three-dimentional object the signature, inscription, or marking is located. Choose from front, back, top, bottom, left side, and right side.
-
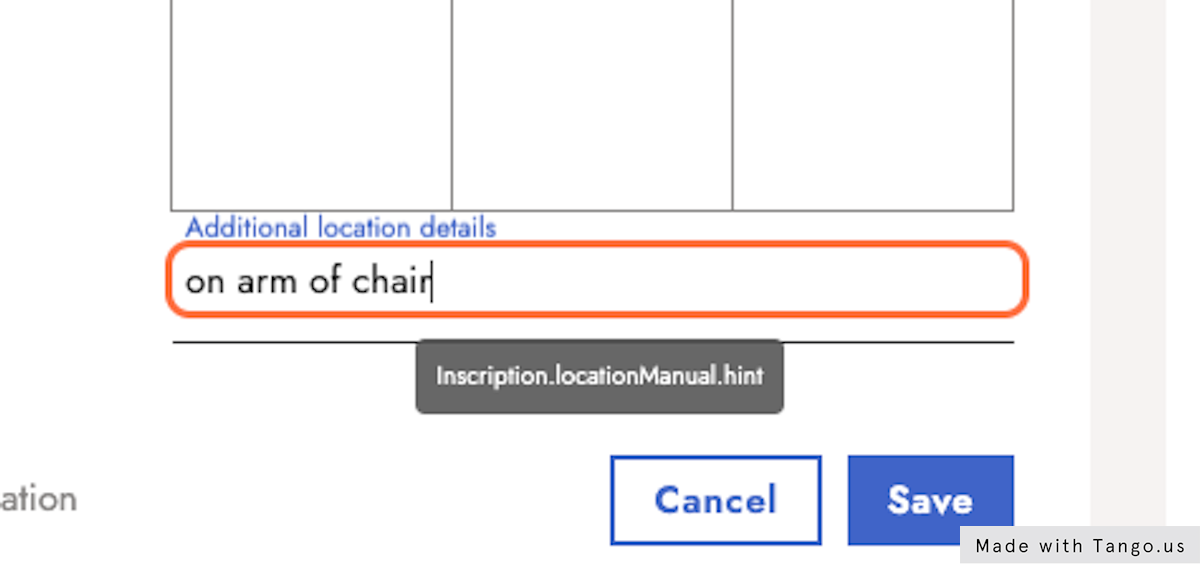
Grid. The grid allows you record where it is on that side.
-
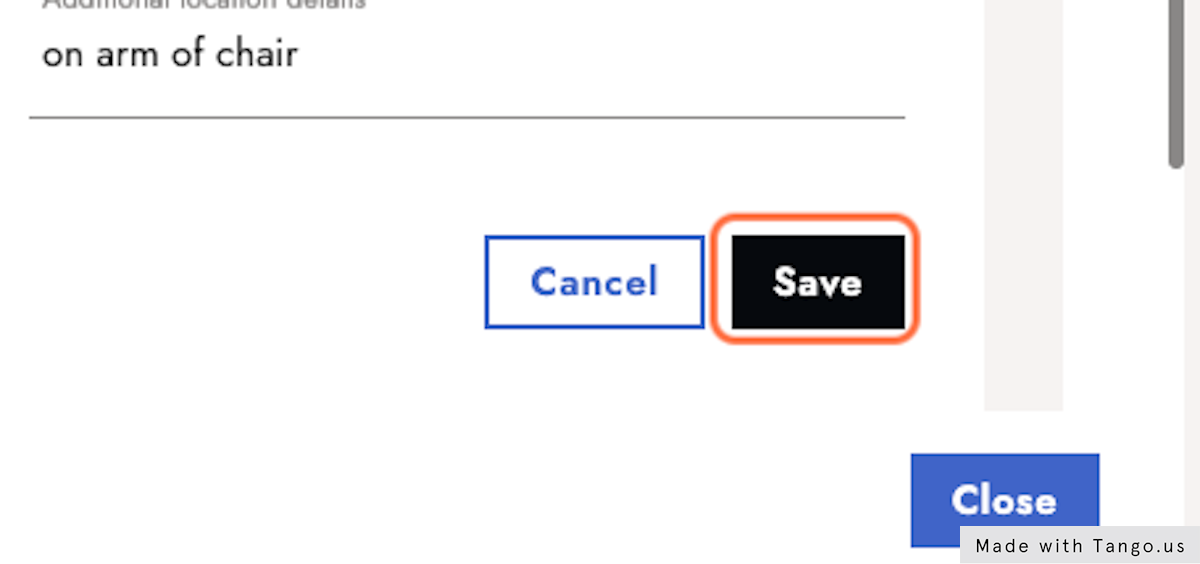
Additional location details. Add even more details in the Additional location details field.
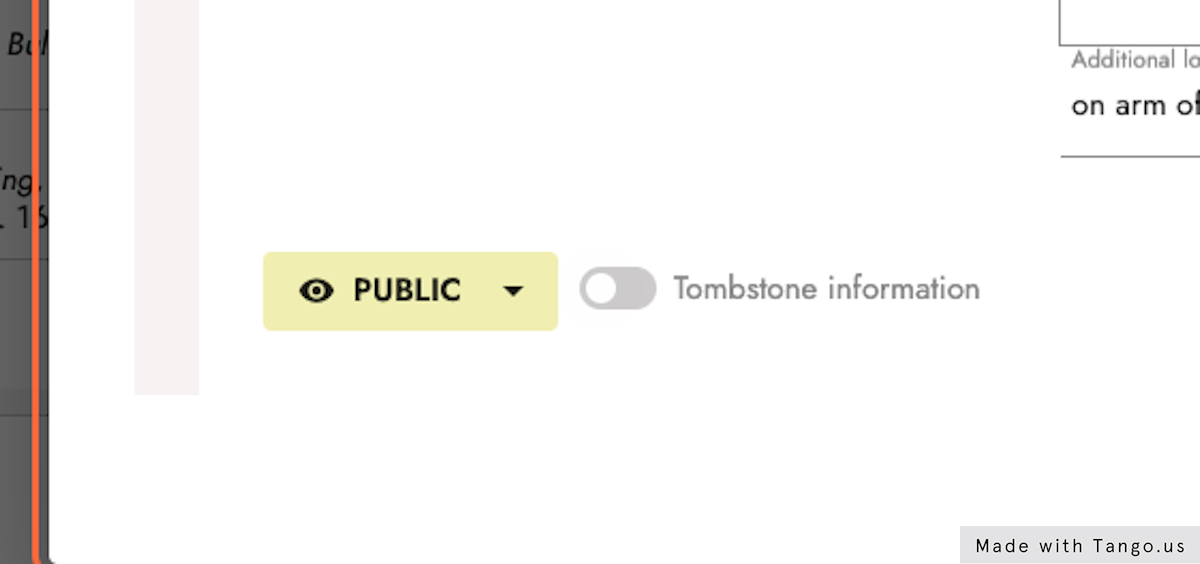
9. Review the visibility status and tombstone toggle.
Click Public to change the information to private. Click Tombstone information if it should be included in the tombstone data.
10. Click Save.
Click + Add to start the whole process again for another signature, inscription, or marking.
Last updated: 30 September, 2025